The simplest way to install ZebraTester on macOS is to run the guide and follow the installation instructions. Below are
...
| Info |
|---|
Apica recommends installing ZebraTester into the default folder. However, it is possible to have multiple installations of ZebraTester on your machine at the same time if you install ZebraTester into different folder names, for example, 70B/Zebratester… and 75A/Zebratester… |
Step | Screenshot |
|---|
Pre-installation Step| Note |
|---|
There has been a permission change that Apple implemented since Catalina (macOS 10.15.X) where an Apple Certificate is expected (the presented Apica Certificate is no longer accepted) and changes the installer package so that it cannot autoinstall because the executables have been changed to text files. This only means that Apple-Certified installation packages will be automatically installed. The installation package is still valid with the Apica Certificate and can be installed with a few extra steps. In these cases, you will get an alert that will need a small workaround. |
✅ This can be easily corrected by the few steps listed on these preinstallation steps here.
 Or, please visit our Apica Community to a page, Installation file can't be opened in macOS Catalina, that contains the technical steps to change the permissions that allow the installation to proceed. Or, please visit our Apica Community to a page, Installation file can't be opened in macOS Catalina, that contains the technical steps to change the permissions that allow the installation to proceed. | 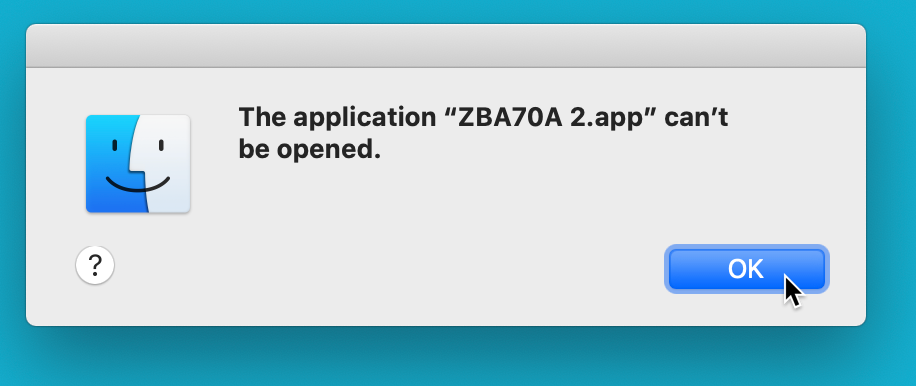 Image Modified Image Modified |
Install ZebraTesterExpand the archive ZBA55<minor version>.zip with a mouse click and then start the installation by clicking on ZBA55<minor version>. Alternatively, you can install ZebraTester in any other location like your home folder /Users/<your account name>/ZebraTester`. During the installation a pop-up window is shown which generates a new default license or shows your existing license if ZebraTester was already installed earlier at the same location. Note: You must click the Apply button in order that the new license is stored on disk. | 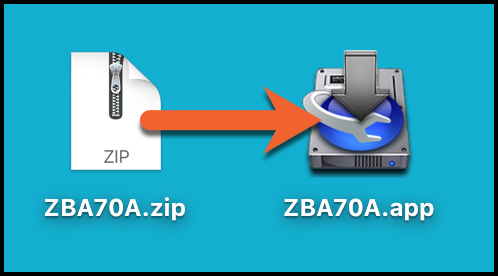 Image Modified Image Modified |
ZebraTester Installer Screens| Info |
|---|
These screens were seen in earlier installations--you may not see these prompts. |
Java is required for the installation and running of ZebraTester. Please accept the screens that require it. In this case Java will need access to my installer files on my Desktop. InstallAnywhere will prompt you through
| 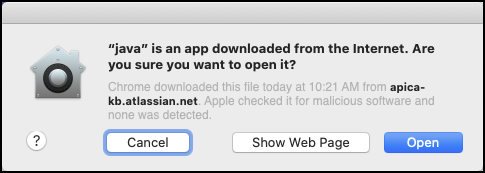 Image Modified Image Modified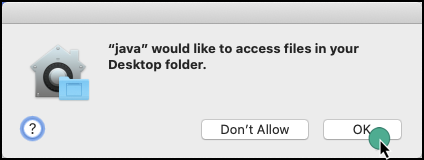 Image Modified Image Modified |
Introduction and License AgreementClick Next at the Introduction Check next to the “I Accept…” statement
| 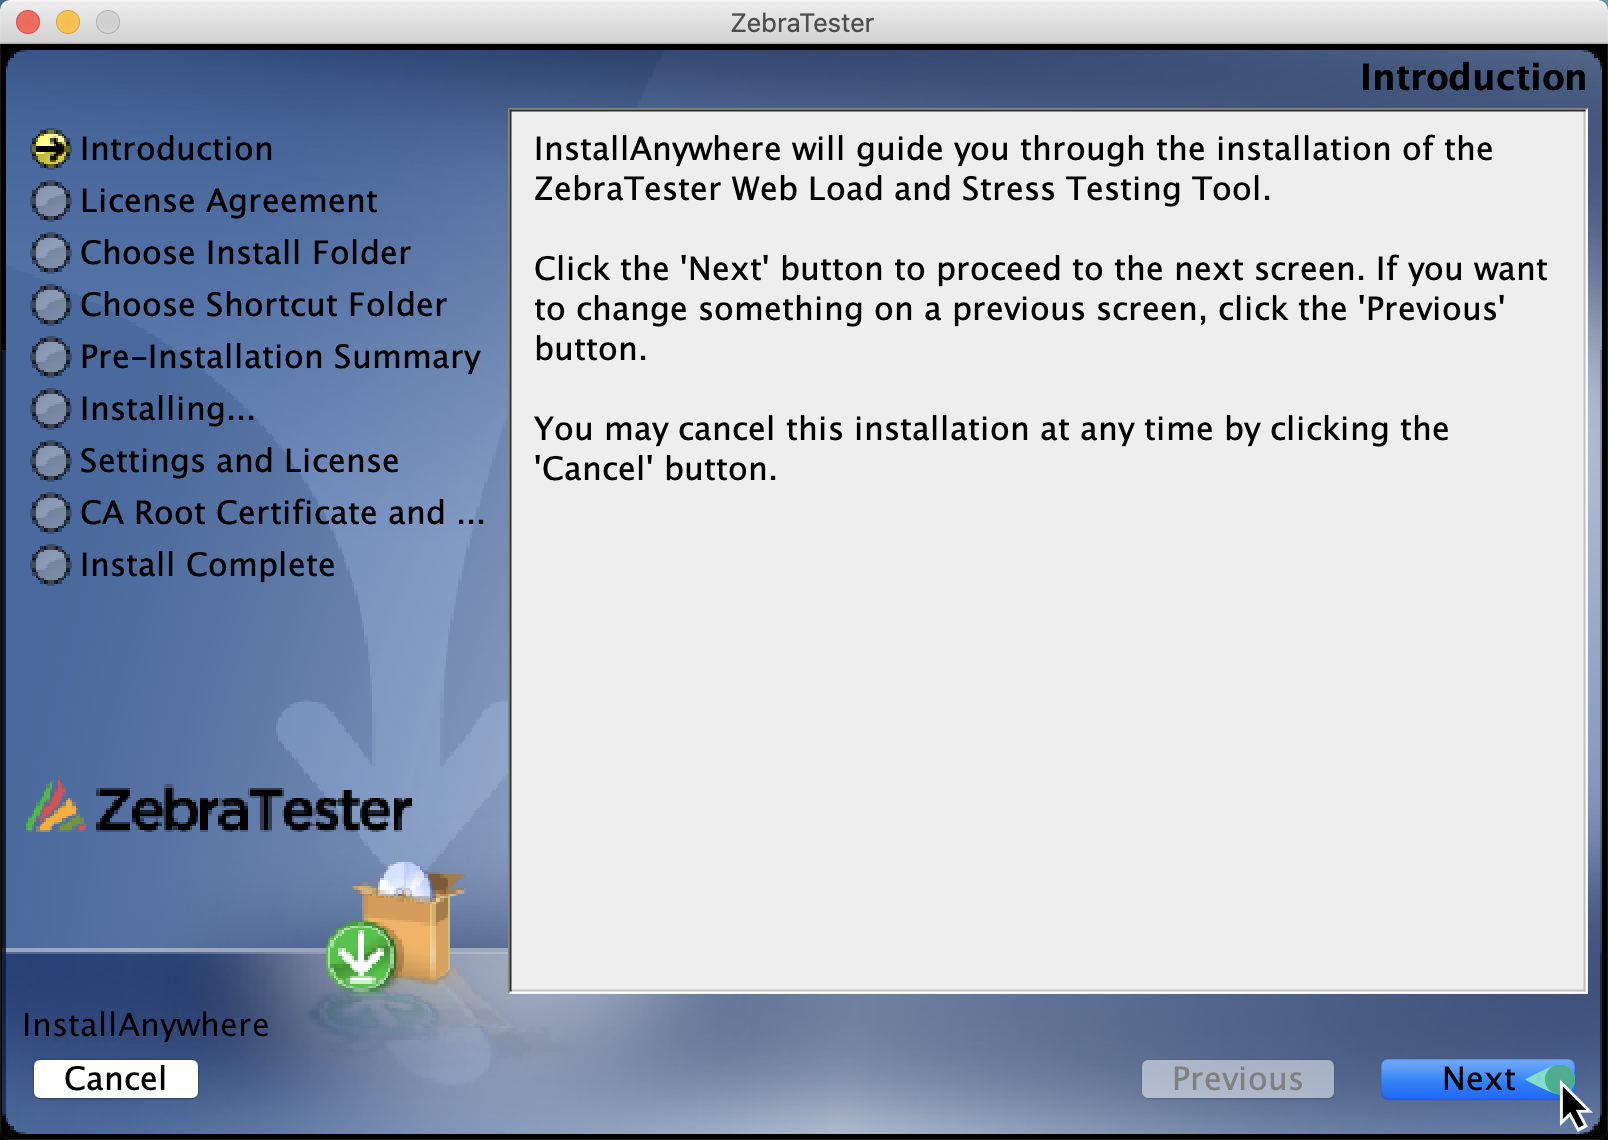 Image Modified Image Modified Image Modified Image Modified |
Set Installation folder and an Alias (if desired) The default destination is in the Applications folder on the hard drive. Create any Zebra Alias’s that you desire/need.
| 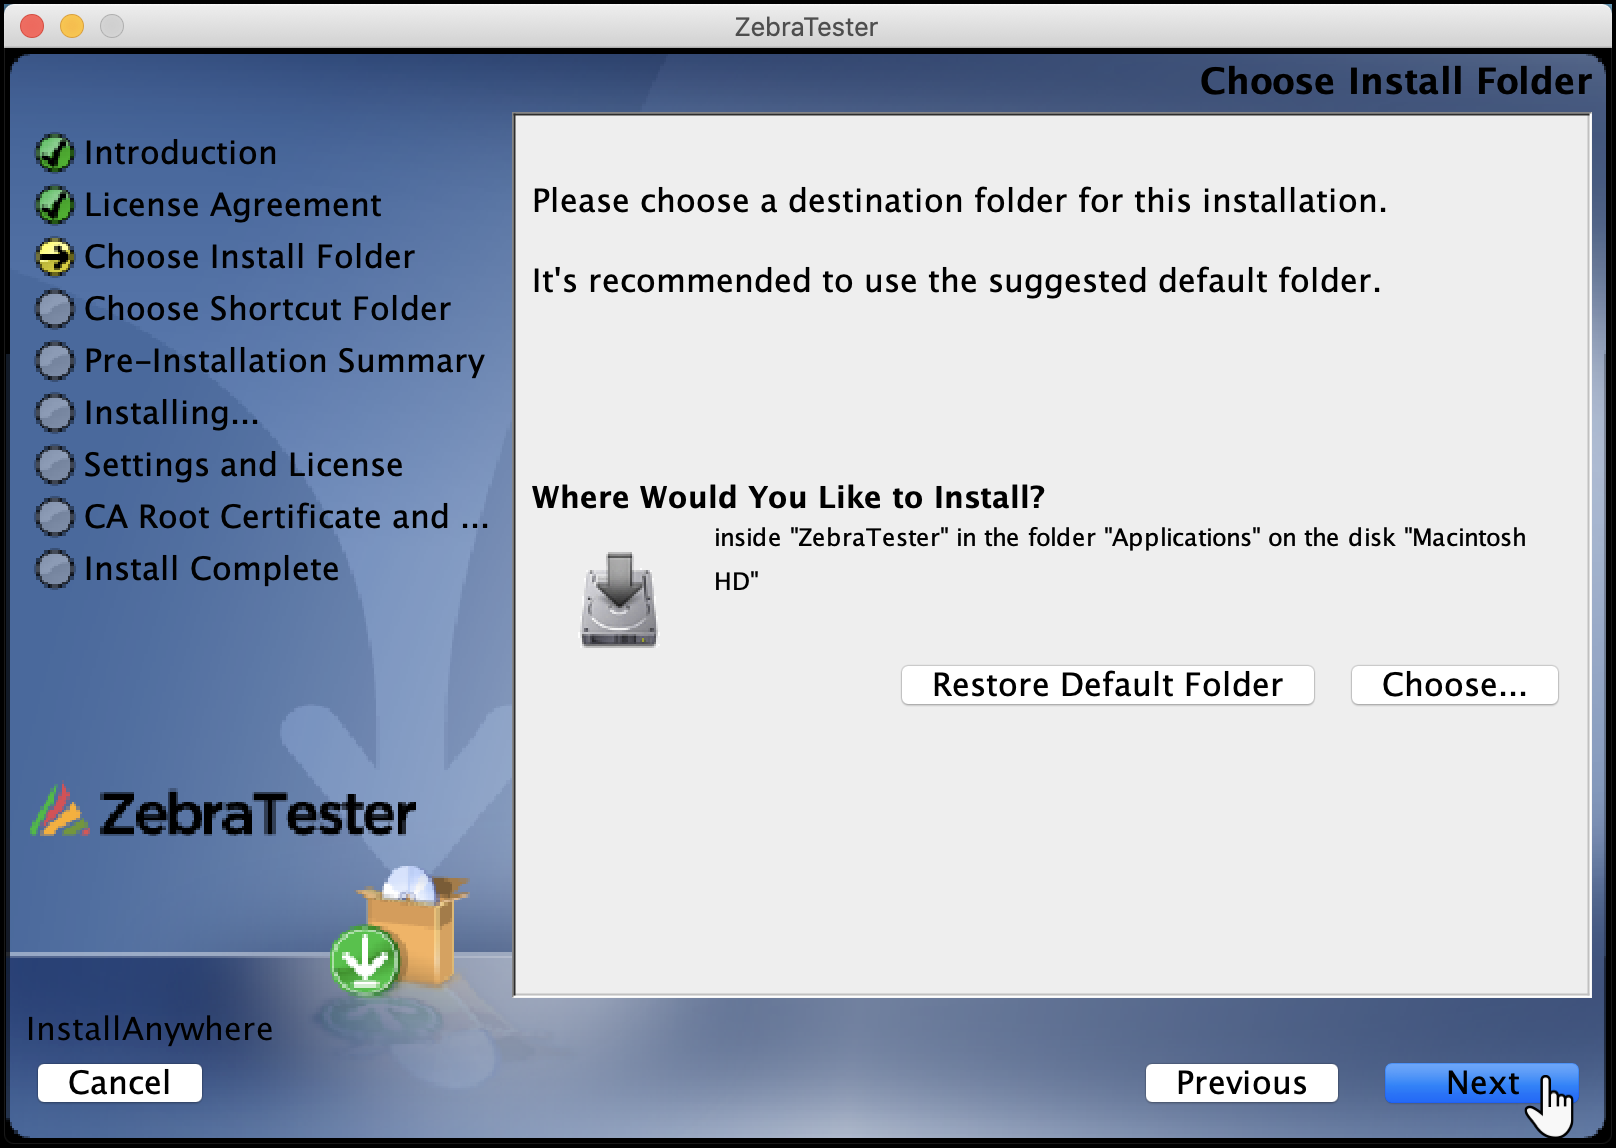 Image Modified Image Modified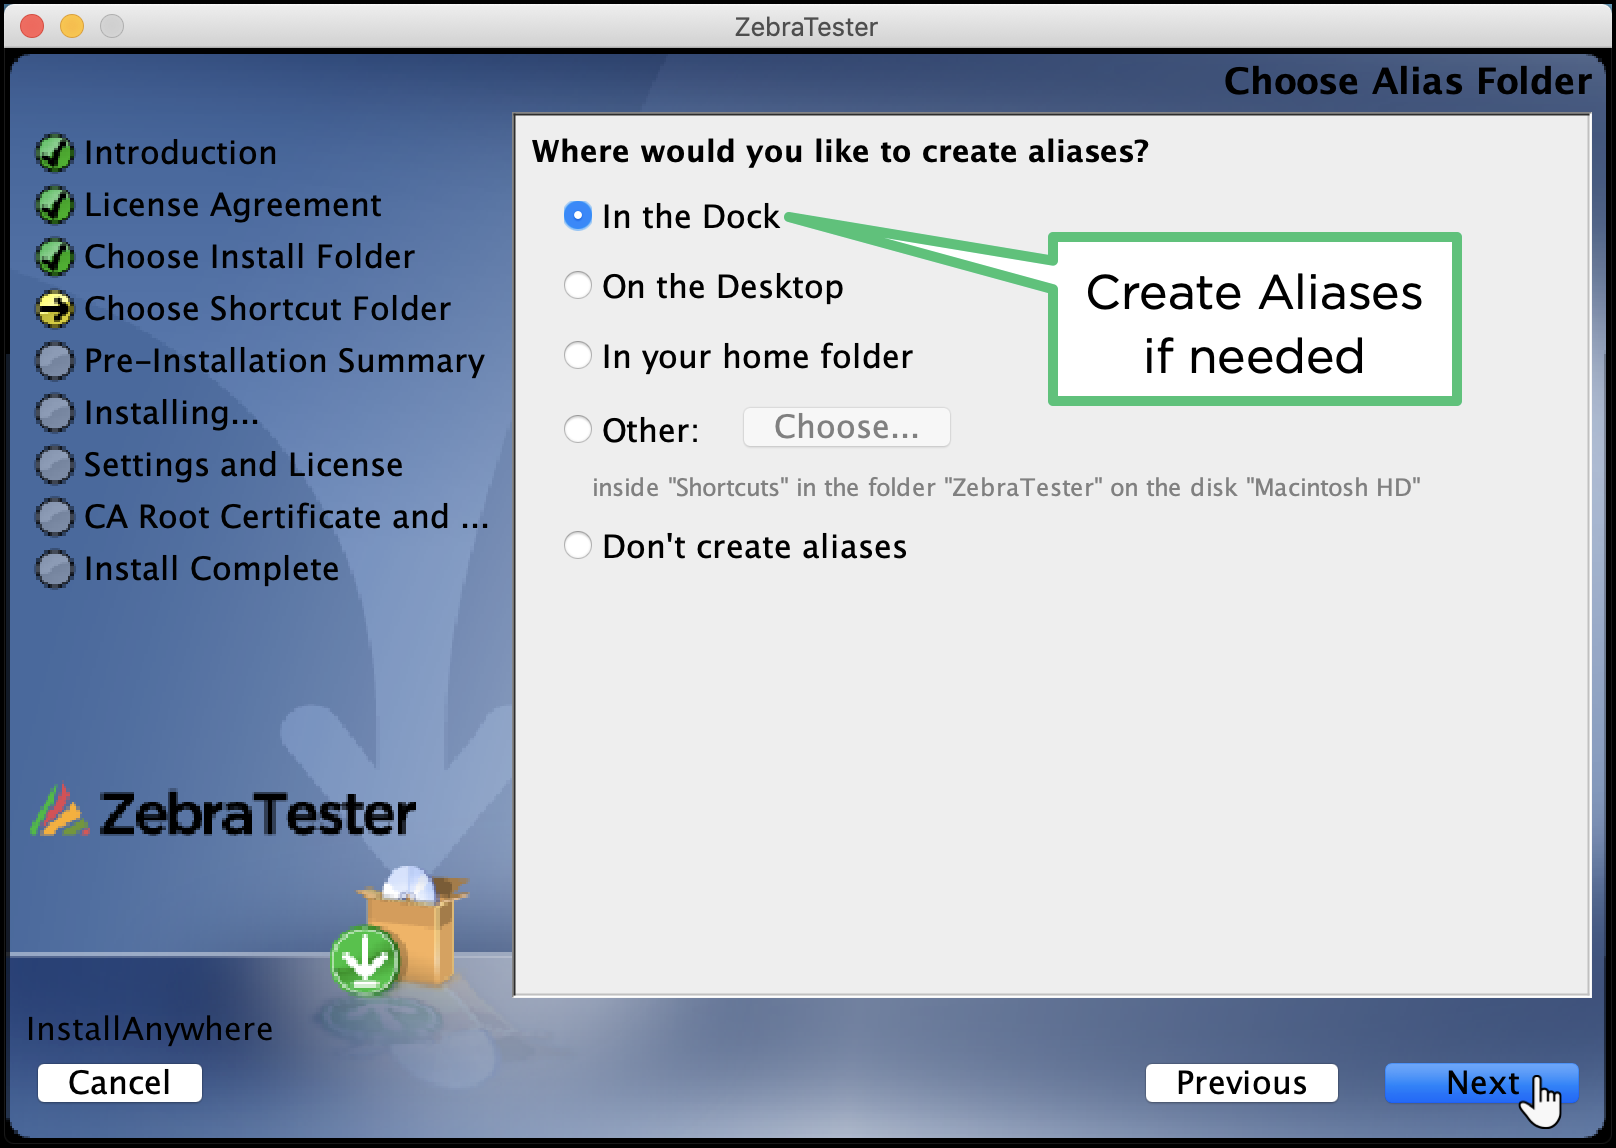 Image Modified Image Modified |
Pre-Installation Summary & InstallationReview to confirm Installation will start after clicking the Install button
| 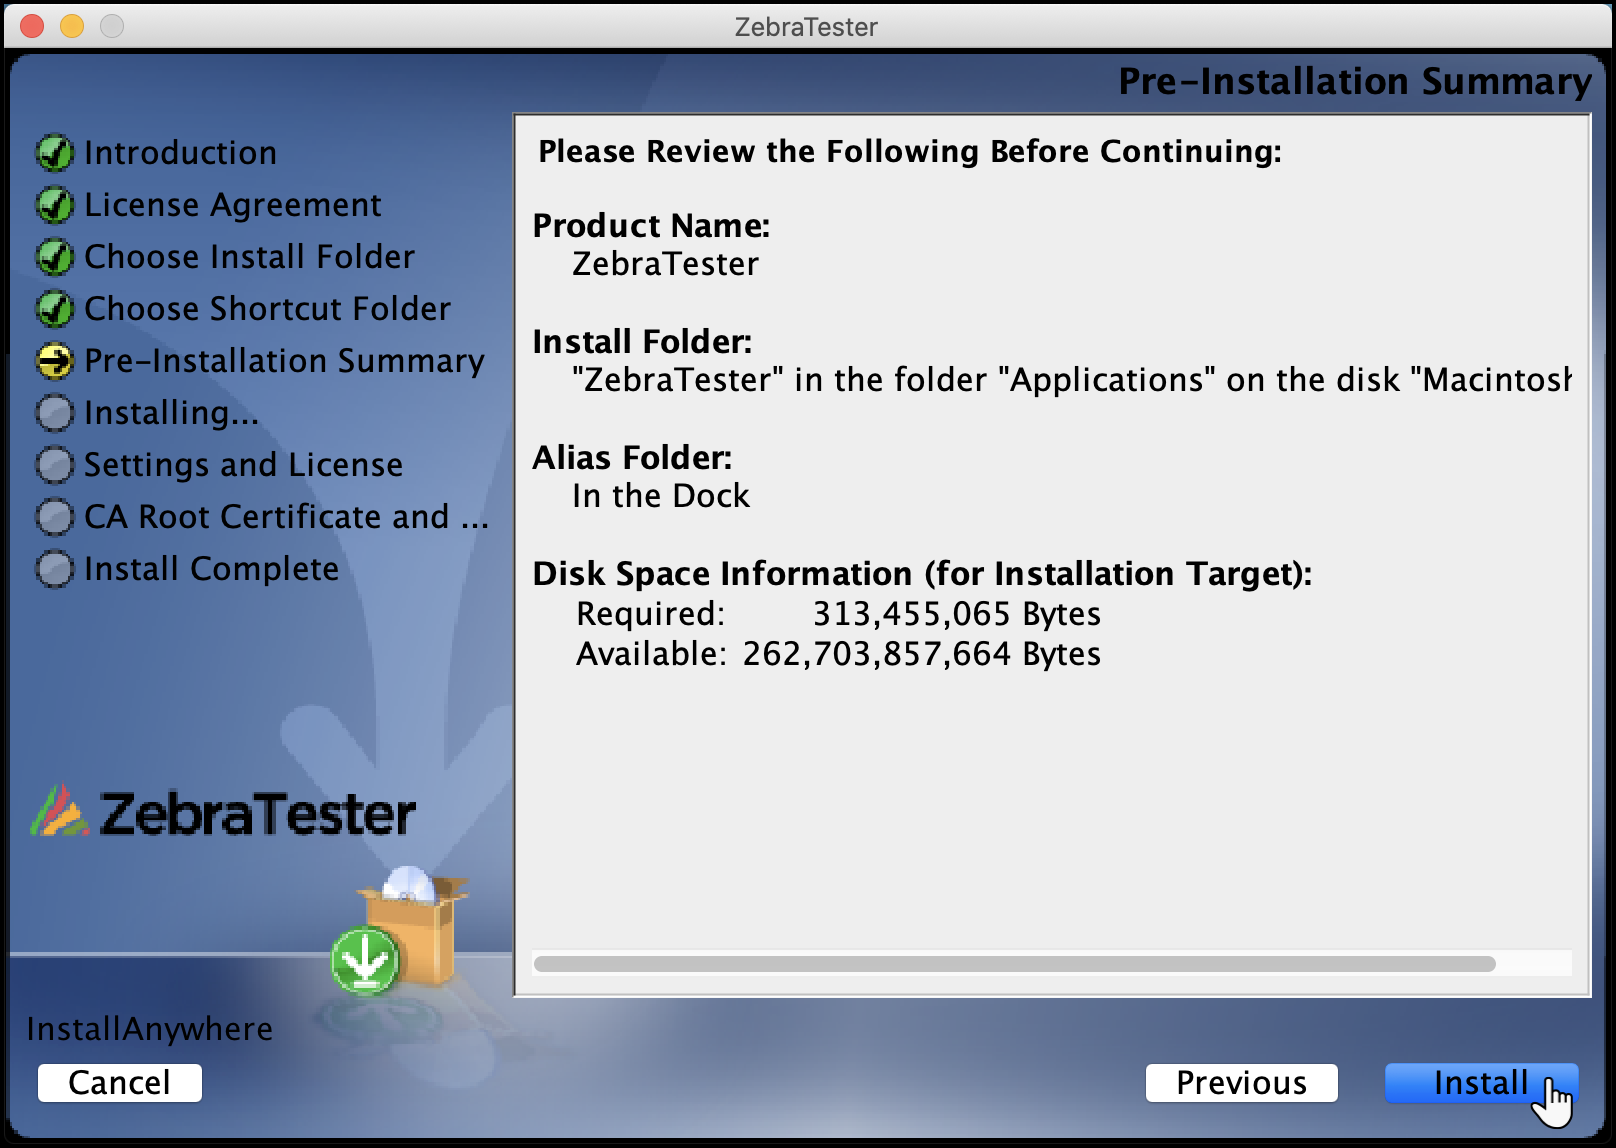 Image Modified Image Modified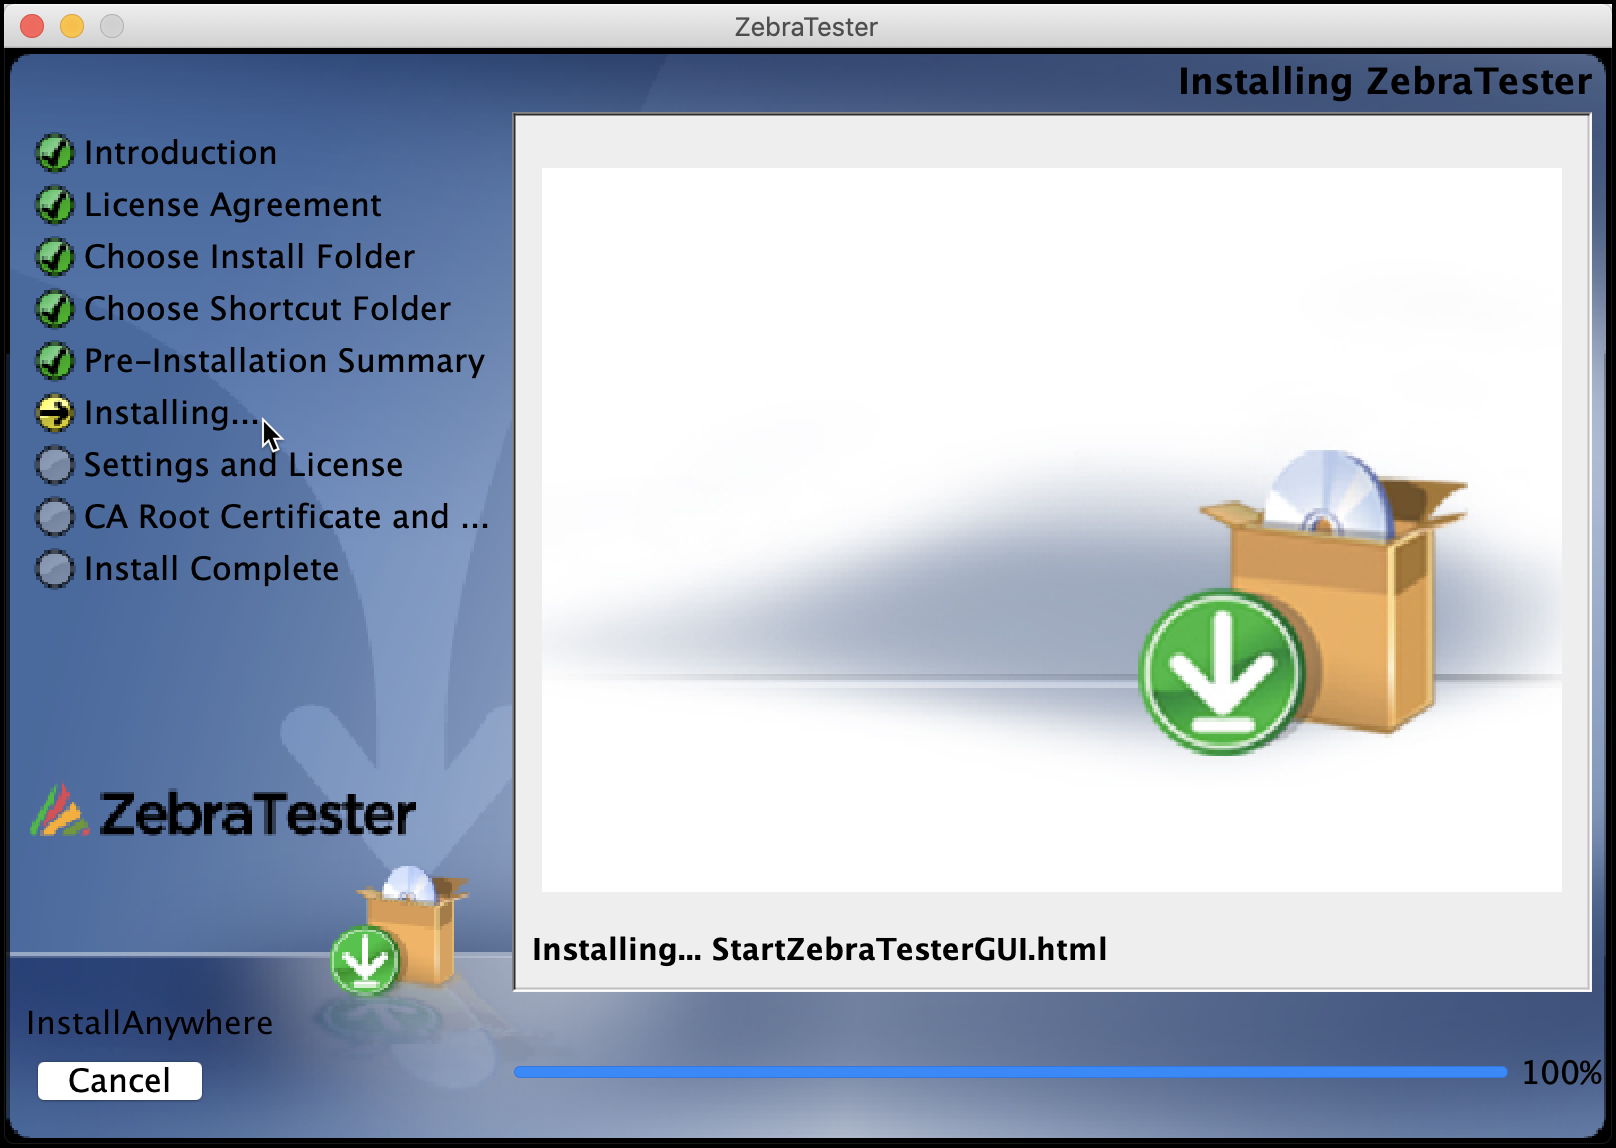 Image Modified Image Modified |
Settings and LicenseSelect your timezone and number format Click Apply and Next.
| Note |
|---|
Please ensure you Click the Red Apply Button to properly set the licensing information! You will probably get errors otherwise. |
| 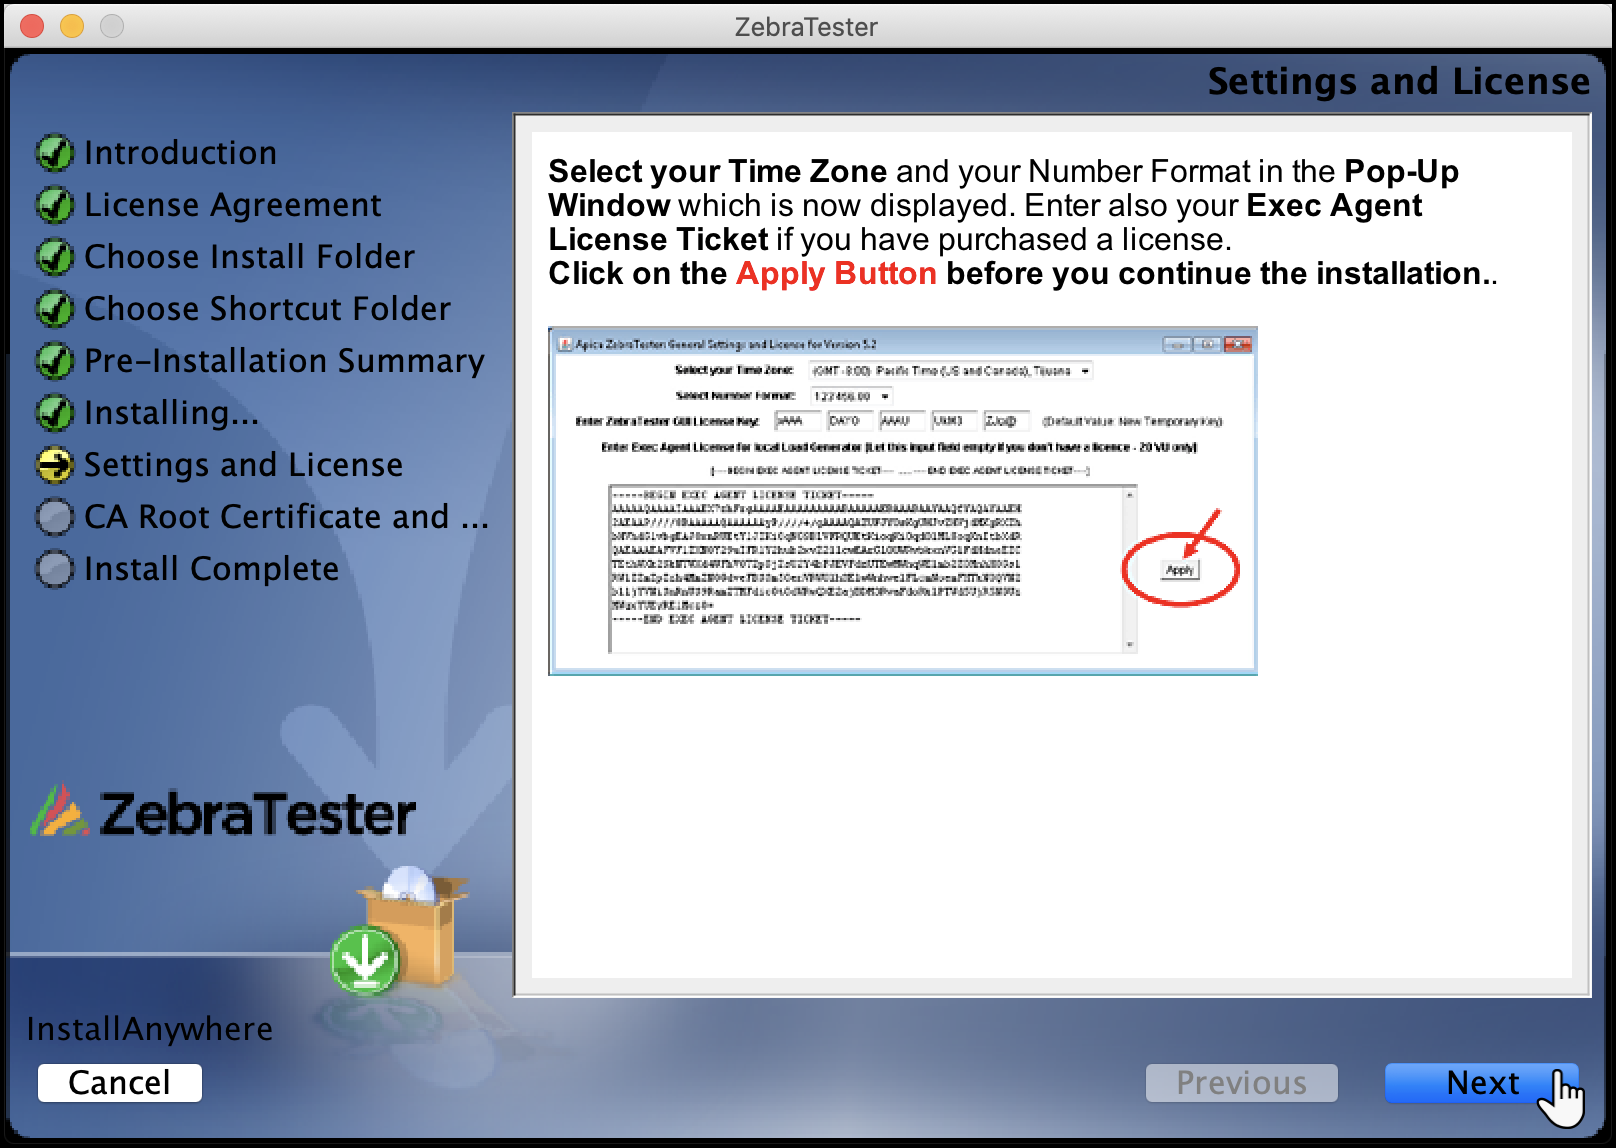 Image Modified Image Modified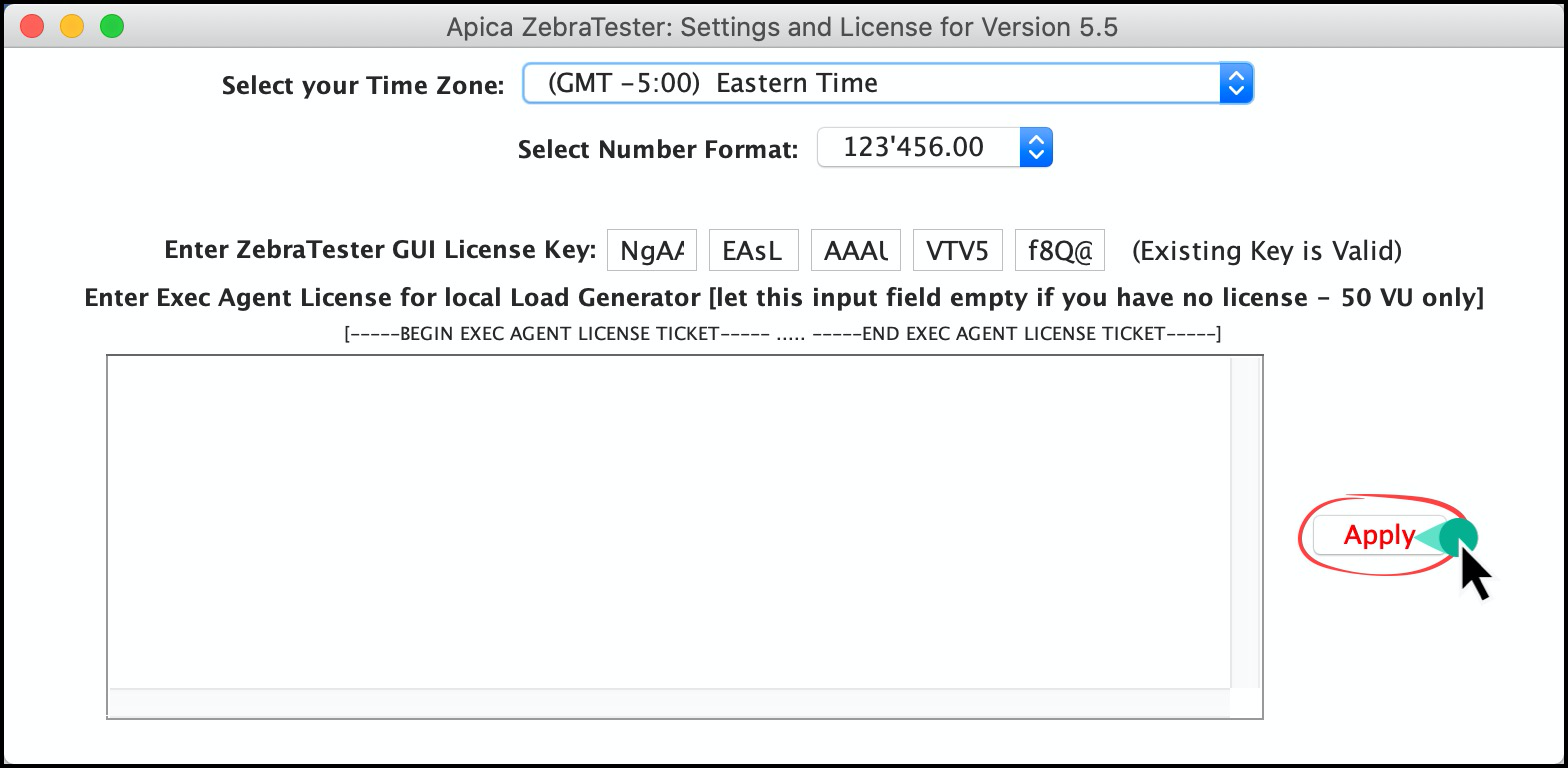 Image Modified Image Modified |
CA Root Certificate and TuningCreate your own CA Root Certificate| Note |
|---|
This is step is not needed if you are only intending to use ZebraTester to capture sessions and script. |
| 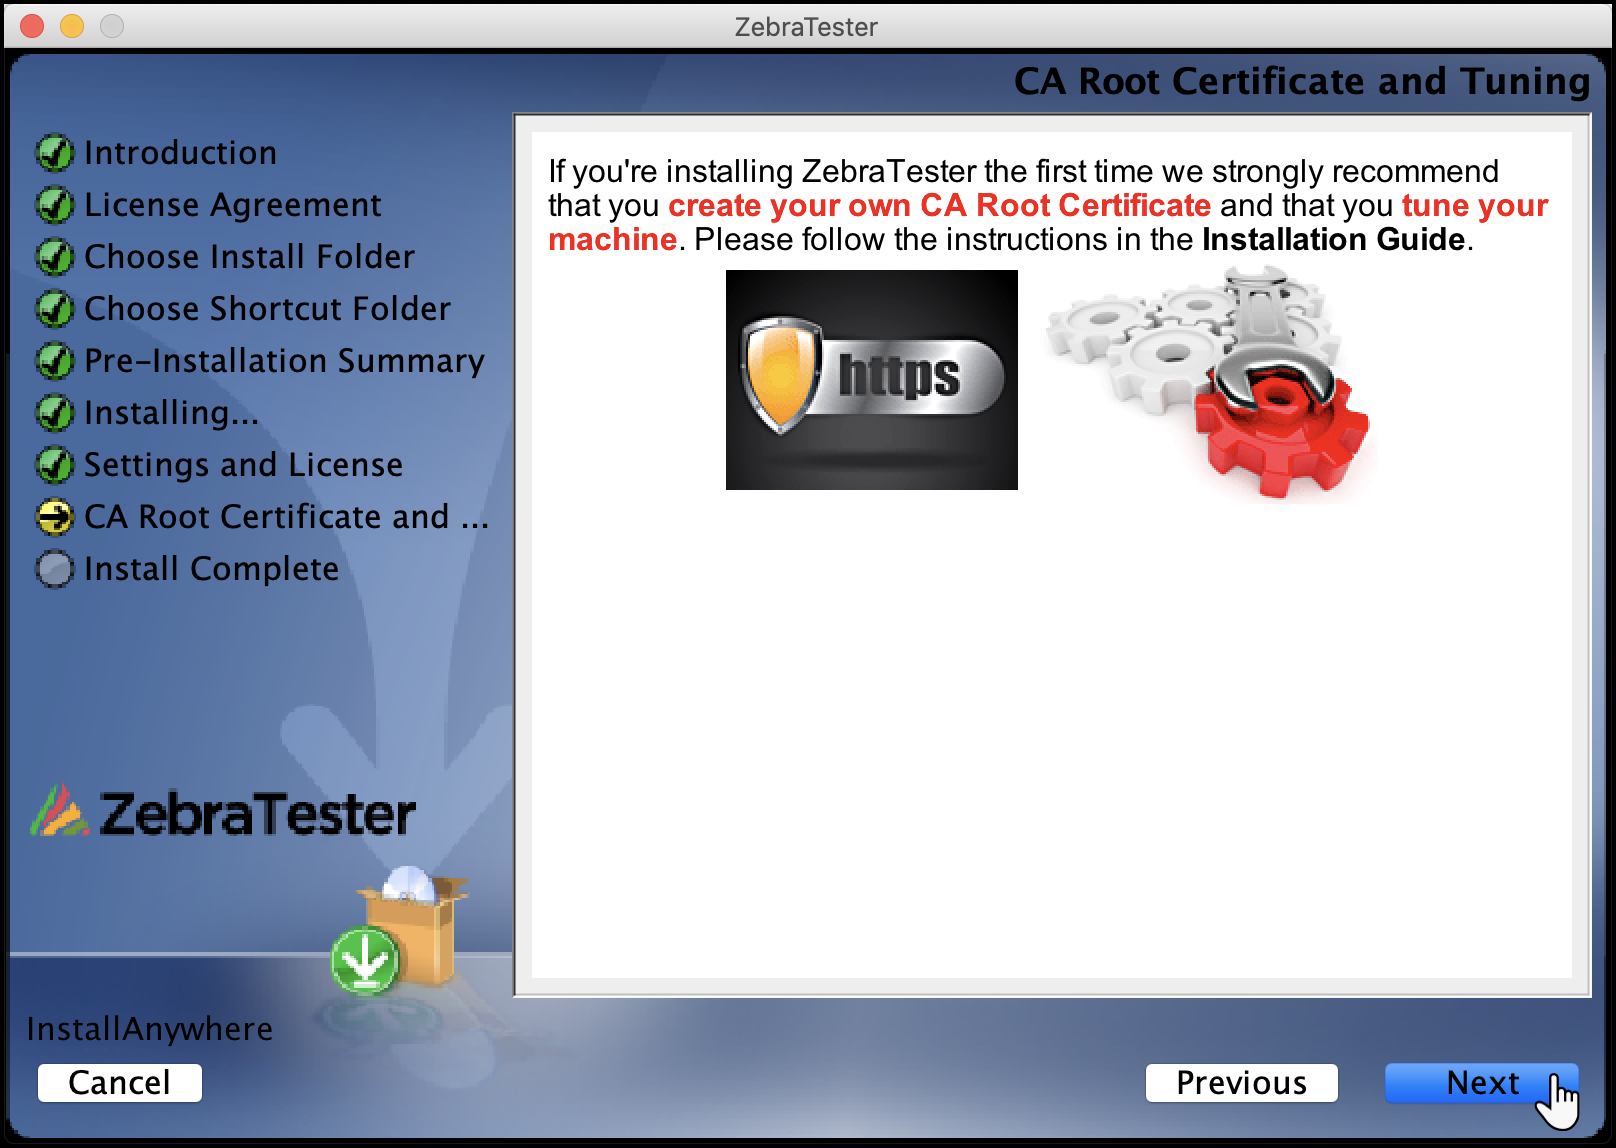 Image Modified Image Modified |
Installation CompleteNote some of the locations. Drag shortcuts to the Dock as needed. Clock Done to exit the Installer
| 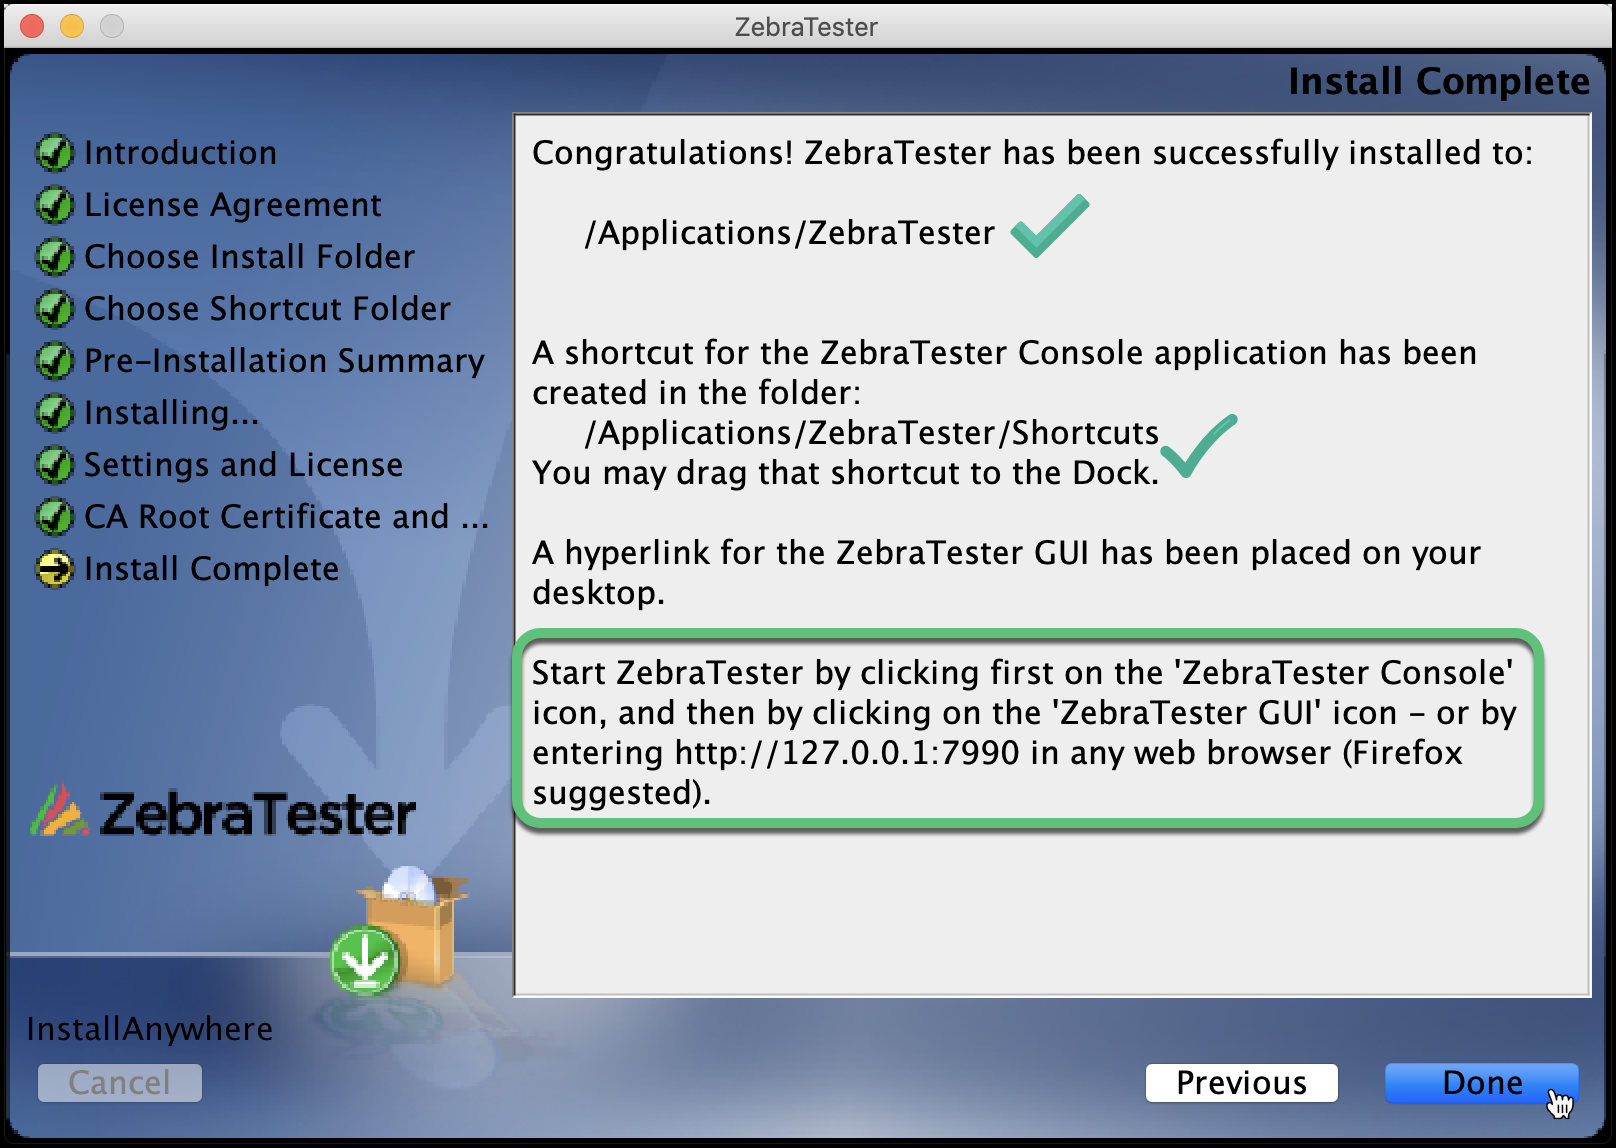 Image Modified Image Modified |
To start ZebraTester:Click the ZebraTester Console icon to start the console Clicking the ZebraTester GUI icon Alternatively, you can also access the GUI by starting your Chrome/Firefox Web Browser and entering http://127.0.0.1:7990 into the address bar.
To record Web Surfing Sessions, you can optionally use the Recording Extension. | 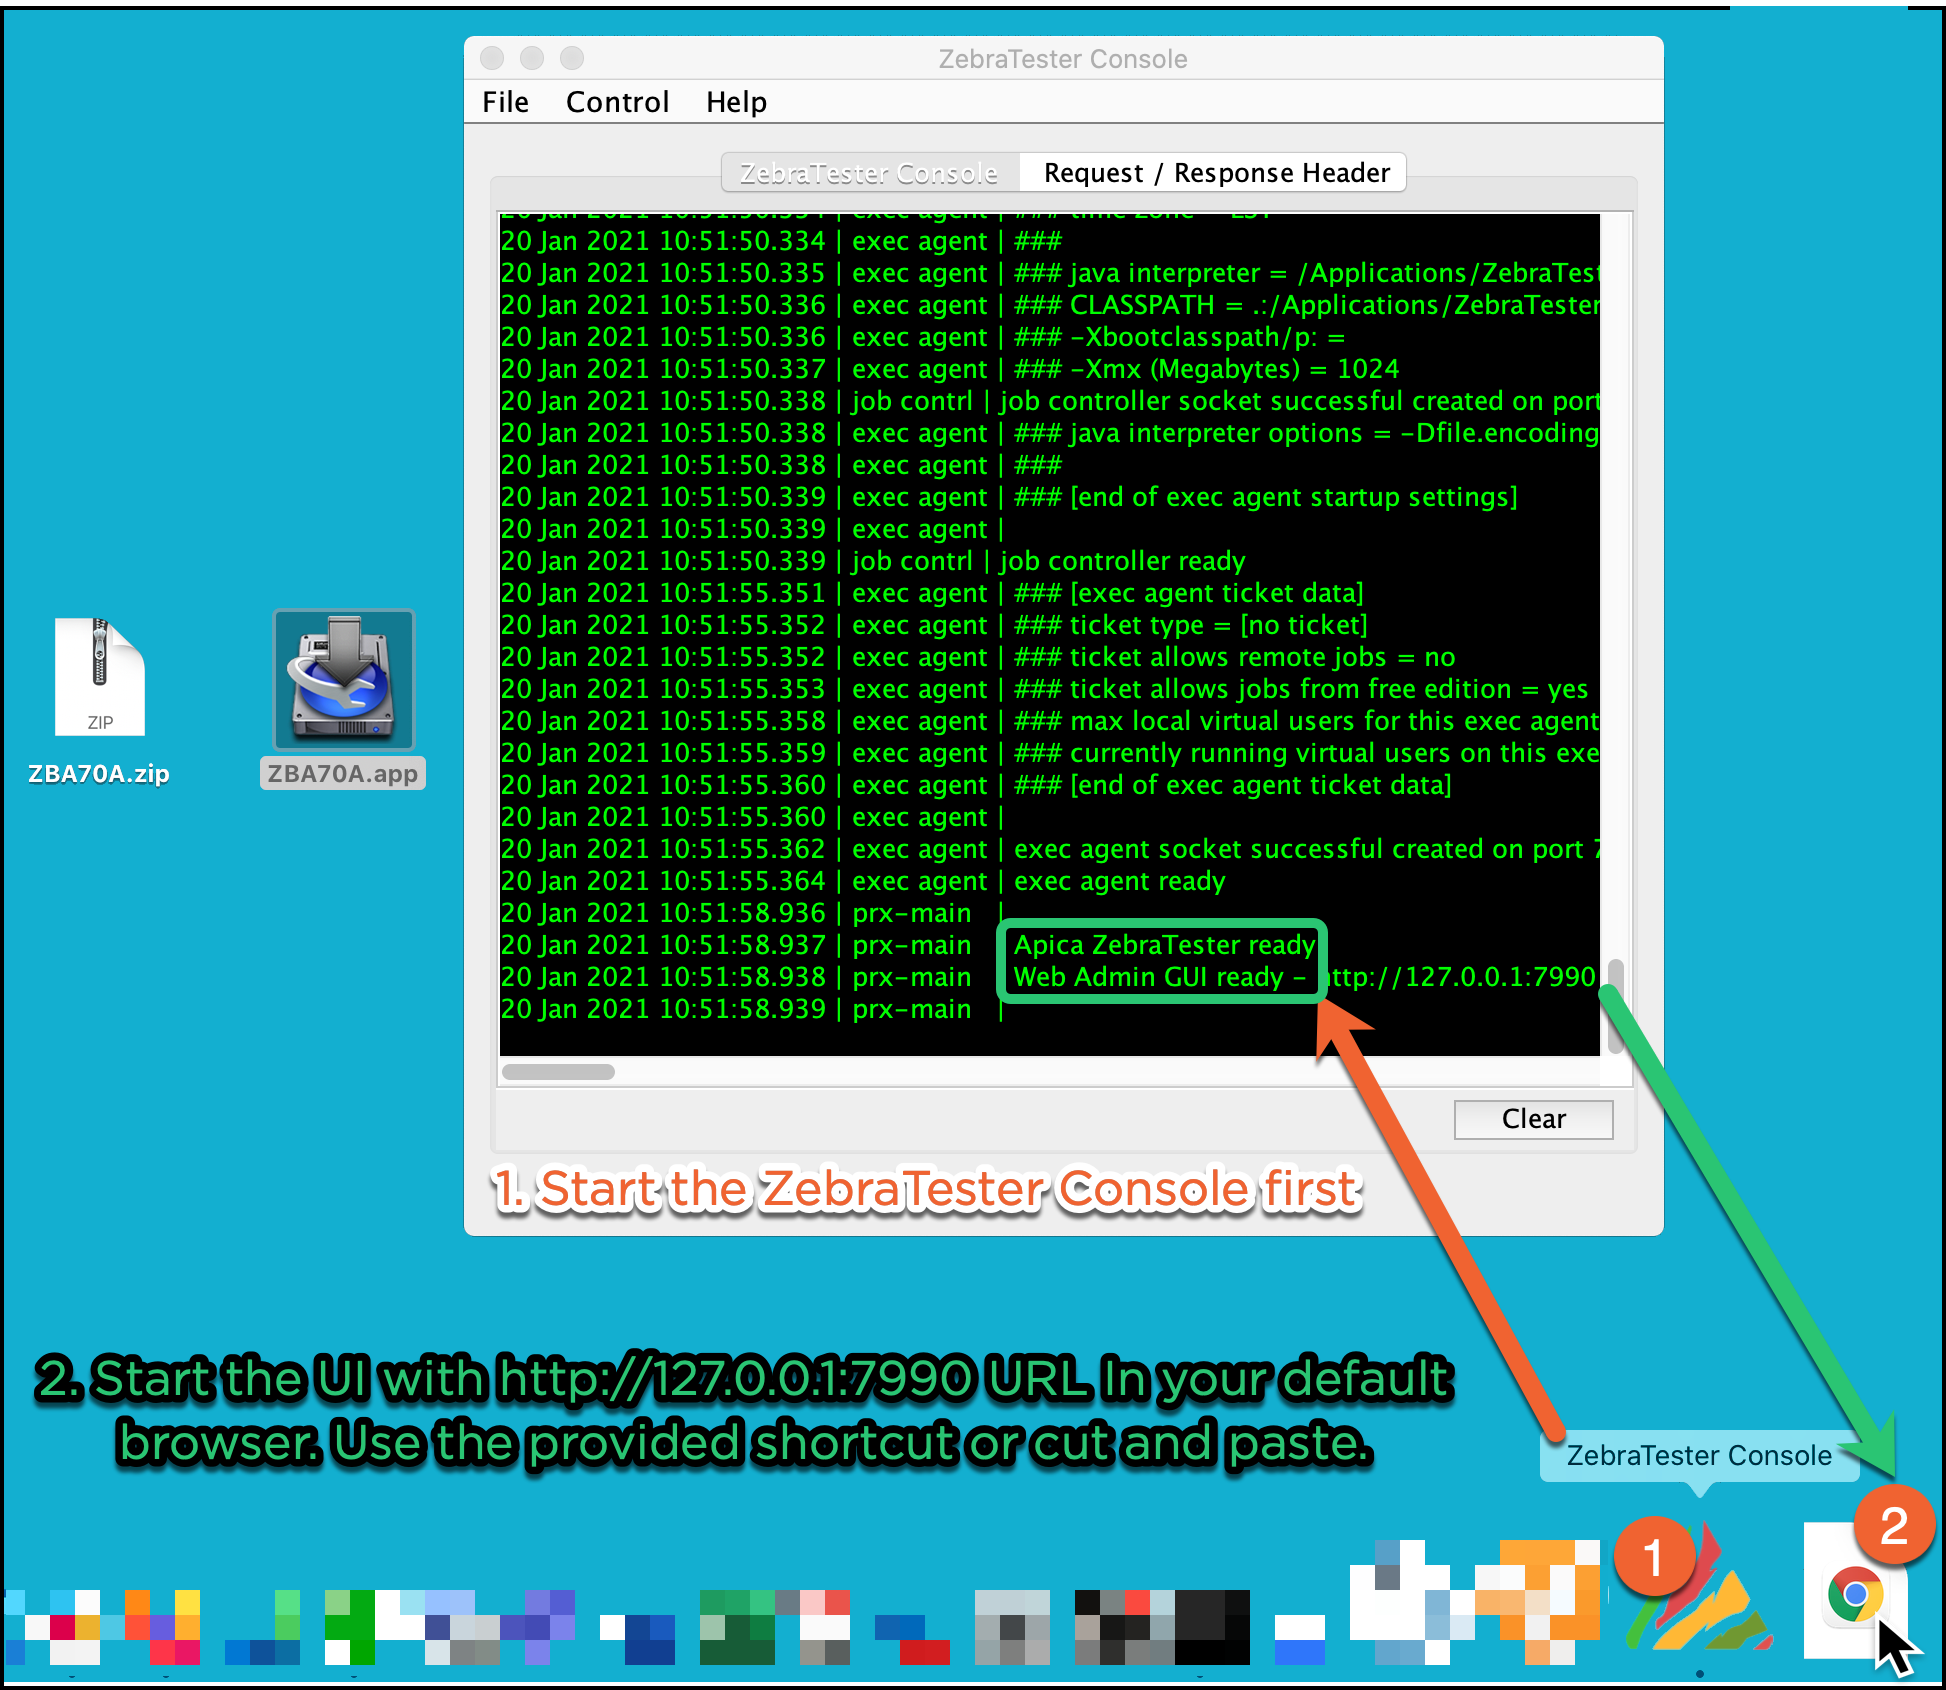 Image Modified Image Modified
|